Navigating cPanel as a new user can seem overwhelming at first, but once you break down each section, it becomes a manageable and powerful tool. cPanel is designed to help you manage website files, emails, databases, and domains all in one place. Here’s a breakdown of the main sections in cPanel and how to use them effectively. For most reading this, you will only interact with a few of the functions in cPanel, but it will be useful to have an overall understanding of what it offers.
1. Dashboard Overview
The cPanel dashboard is your starting point. Here, you’ll see an organized layout of icons and menus, categorized by function. Familiarize yourself with this layout, as each icon represents a tool for managing different aspects of your hosting environment.
- Top Navigation: At the top, you’ll find your account details, search bar, and options to log out. You can use the search bar to quickly locate tools by typing keywords.
- Main Sections: Each icon below is grouped under categories such as “Files,” “Databases,” “Domains,” and “Email” for ease of access.
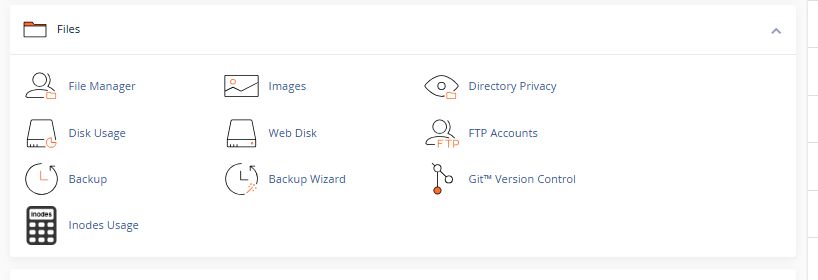
2. Files Section
This section is for managing your website’s files and directories, similar to how you would on a local computer.

- File Manager: The File Manager is like an online file explorer. You can view, upload, edit, delete, and organize your website’s files here. Simply double-click on folders to open them, or right-click to see more options.
- Images: Here, you can organize and manage images on your server. Options include viewing thumbnails, scaling images, and converting formats.
- Directory Privacy: This tool lets you set password protection for specific directories, useful for restricting access to sensitive parts of your site.
- FTP Accounts: Use this to create and manage FTP accounts, which allow remote access to your server. You can assign unique credentials and access levels to different users.
- Backups: Backups are crucial. Here, you can create or restore full or partial backups of your website files, databases, and email accounts.
- Git Version Control: For those familiar with Git, this feature helps you manage and deploy code using version control, directly from your cPanel.
3. Databases Section
Databases are essential for dynamic websites, as they store content like user accounts, blog posts, and other structured data.

- MySQL® Databases: This tool allows you to create and manage MySQL databases and users. You can assign permissions, view usage, and create new databases.
- phpMyAdmin: phpMyAdmin is a graphical interface for managing MySQL databases. You can directly edit tables, run SQL queries, and export/import database data here.
- MySQL Database Wizard: A step-by-step tool that helps you set up new databases, from creating the database itself to setting up user access permissions.
4. Domains Section
Manage your domains, subdomains, and redirects within this section. It’s also where you configure DNS settings if needed.

- Domains: Add or remove domain names associated with your hosting account. This is also where you can configure aliases or “parked” domains.
- Subdomains: Create subdomains (like blog.example.com) for your main domain. This is useful for separating parts of your website, such as a blog or store.
- Addon Domains: Addon domains allow you to host multiple domains under the same account, each with its own website content.
- Redirects: This tool helps you set up URL redirects, useful for forwarding one webpage to another or for moving old URLs to new ones.
- Zone Editor: Modify DNS records such as A, CNAME, and MX records. This is essential for configuring domain-related services like email and subdomains.
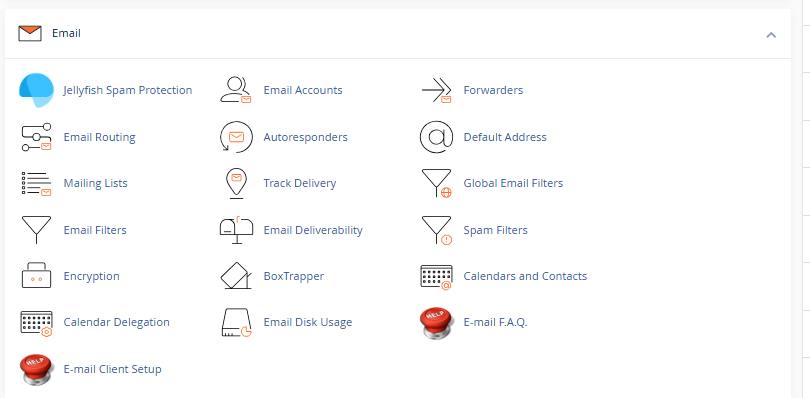
5. Email Section
Set up, manage, and troubleshoot email accounts linked to your domains.

- Email Accounts: Create new email addresses, assign storage limits, and configure mailbox settings. You can also access your webmail directly from here.
- Forwarders: Set up email forwarding to automatically redirect emails from one address to another. This is helpful for consolidating communications.
- Autoresponders: Configure automatic replies for specific email addresses, useful for customer support or vacation responses.
- Spam Filters: Adjust spam filter settings to control unwanted emails. This section also includes settings for SpamAssassin if it’s enabled on your server.
- Email Routing: Manage how your server handles email for your domain, which is especially useful if you use external email services like Google Workspace.
6. Metrics Section
Monitor your website’s performance and user statistics to make informed decisions about optimization.

- Visitors: View real-time and historical data on your website traffic, including information about visitors’ IP addresses, browsers, and devices.
- Errors: This log provides details on errors encountered by visitors, such as broken links or missing files. It’s essential for troubleshooting site issues.
- Bandwidth: Tracks the amount of data transferred from your website over time. This metric is important for staying within hosting limits.
- Awstats/Webalizer: These analytics tools offer in-depth reports on your website traffic, allowing you to analyze visitor behavior, entry/exit points, and popular pages.
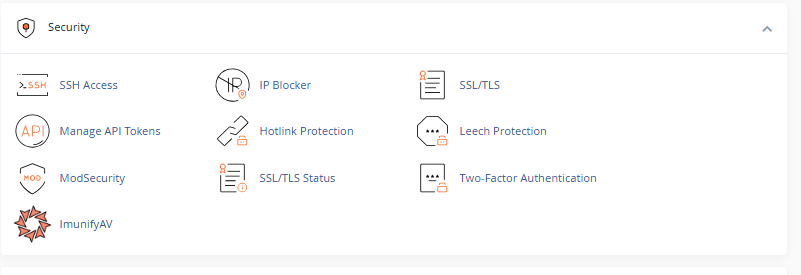
7. Security Section
Keep your website safe by utilizing various security tools in cPanel.

- SSL/TLS: Install and manage SSL certificates to encrypt data on your website. SSL is essential for secure data transfer and is now a ranking factor in search engines.
- IP Blocker: Block specific IP addresses from accessing your site. This tool is helpful for preventing unwanted visitors or spammers.
- Leech Protection: If you have restricted sections on your site, Leech Protection prevents unauthorized sharing of login credentials.
- ModSecurity: A firewall tool that provides protection against various security threats. You can enable or disable rules for additional security.
8. Software Section
Install applications, set up frameworks, and manage software configurations from this section.

- Softaculous App Installer: Quickly install popular web applications such as WordPress, Joomla, or Drupal with a few clicks.
- PHP Selector: Choose your desired PHP version and adjust settings to suit your website’s needs, which is particularly useful if your site requires a specific PHP version.
- Perl Modules/PHP PEAR Packages: If your site uses specialized programming modules, these tools allow you to install and manage them within your hosting environment.
9. Advanced Section
For users with technical experience, the advanced section provides tools to fine-tune your website.

- Cron Jobs: Automate tasks by scheduling commands or scripts to run at specific intervals. This is helpful for maintenance or routine updates.
- Error Pages: Customize 404, 500, and other HTTP error pages to create a more user-friendly experience for site visitors.
- Apache Handlers: Configure how your server handles specific file types, which can be useful for handling custom content types.
Tips for New Users
- Use the Search Bar: If you’re ever unsure where a tool is, the search bar at the top is the fastest way to locate it.
- Backup Regularly: Before making significant changes, always create a backup.
- Check Documentation: cPanel has a lot of features, and the cPanel documentation is an excellent resource if you need extra help.
1 thought on “How to navigate cPanel for as a new user”